


Creating an abstract collage from gel prints is a deeply rewarding artistic process that combines spontaneity with thoughtful composition. Whether you’re a seasoned artist or just starting out, the journey from selecting prints to assembling a finished collage offers endless creative possibilities. In this guide, we’ll explore the step-by-step process of transforming your gel prints into a visually compelling abstract composition.
1. Understanding Gel Printing for Collage
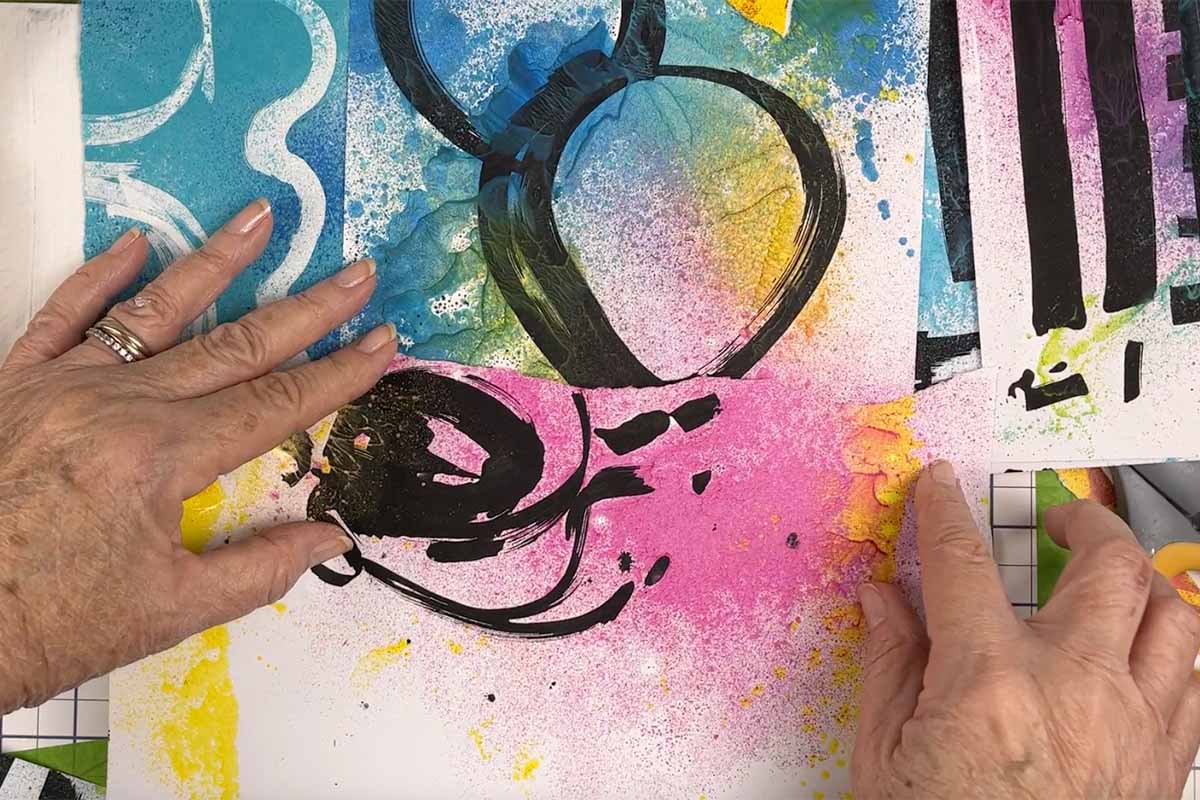
Gel printing is a monoprinting technique that allows for layered textures, organic patterns, and unique color blends. Artists use a gel plate, acrylic paints, stencils, and various tools to create one-of-a-kind prints. These prints serve as the raw materials for collage, offering a dynamic range of colors and textures to work with.
Why Use Gel Prints for Collage?
- Uniqueness: No two prints are the same, ensuring originality in your collage.
- Layering Possibilities: The transparent and textural qualities of gel prints allow for depth and complexity.
- Expressive Marks: The imperfections and unexpected patterns add character to your composition.
 2. Gathering and Selecting Your Prints
Before assembling your collage, take time to curate a selection of prints. Look for:
- Color Harmony: Choose prints that share complementary or contrasting color schemes.
- Varied Textures: Mix smooth, bold patterns with softer, more organic textures.
- Tonal Range: Include both light and dark prints to create balance and contrast.
Lay out your prints and begin experimenting with potential compositions by layering and rearranging them.
3. Choosing a Composition Style
The way you arrange your gel prints will define the overall mood and movement of your collage. Consider these common composition styles:
Grid-Based Composition
- Clean, structured, and modern.
- Works well with prints that have geometric patterns or defined edges.
Freeform Abstract Composition
- Organic and expressive, allowing for more fluid movement.
- Ideal for mixed media and layering effects.
Focal Point Approach
- Establishes a central element that draws the eye.
- Can be achieved with bold shapes or striking contrasts.
4. Cutting and Preparing Your Prints
Once you’ve selected your prints, start cutting or tearing them into different shapes and sizes. Consider:
- Hard Edges vs. Torn Edges: Torn edges create a softer, more blended effect, while clean cuts offer crisp definition.
- Layering Techniques: Overlapping pieces can create a sense of depth and dimension.
- Negative Space: Leaving areas of your background exposed can enhance the overall design.
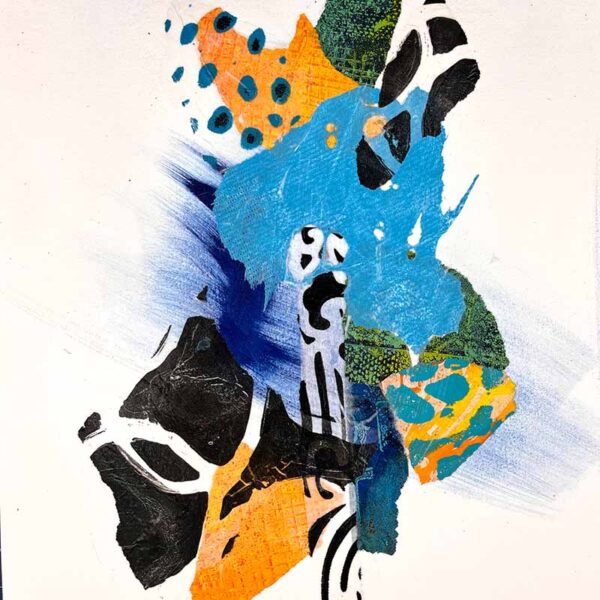
5. Assembling Your Collage
Now comes the exciting part—arranging and adhering your prints onto a substrate such as watercolor paper, canvas, or wood panel.
Tips for Effective Collage Assembly:
- Start Loose: Begin by loosely arranging pieces without glue so you can make adjustments.
- Work from Large to Small: Lay down larger elements first, then layer smaller details on top.
- Use Adhesives Wisely: Matte gel medium, glue sticks, or Mod Podge can be used to adhere your pieces without warping.
- Experiment with Transparency: Some gel prints are semi-transparent, allowing for unique overlapping effects.
6. Enhancing with Additional Elements
To add further depth and complexity to your collage, consider incorporating:
- Hand-drawn Marks: Use ink, graphite, or colored pencils to highlight details.
- Acrylic Paint or Pastels: Blend edges or add new layers of color.
- Text or Found Objects: Incorporate vintage papers, book pages, or textured fabrics.
 7. Evaluating and Refining Your Composition
Step back and assess your collage. Ask yourself:
- Does it feel balanced?
- Is there a strong focal point?
- Are there areas that need more contrast or cohesion?
Make any final adjustments by adding or removing elements until you achieve a harmonious composition.
8. Sealing and Finishing Touches
Once you’re satisfied with your collage, protect it by sealing it with a varnish or gel medium. This step ensures longevity and enhances color vibrancy.
- Glossy Finish: Brings out depth and richness in colors.
- Matte Finish: Reduces glare and creates a softer look.
- Satin Finish: Creates a unique balance between depth and sheen, making it distinct from both gloss and matte finishes.
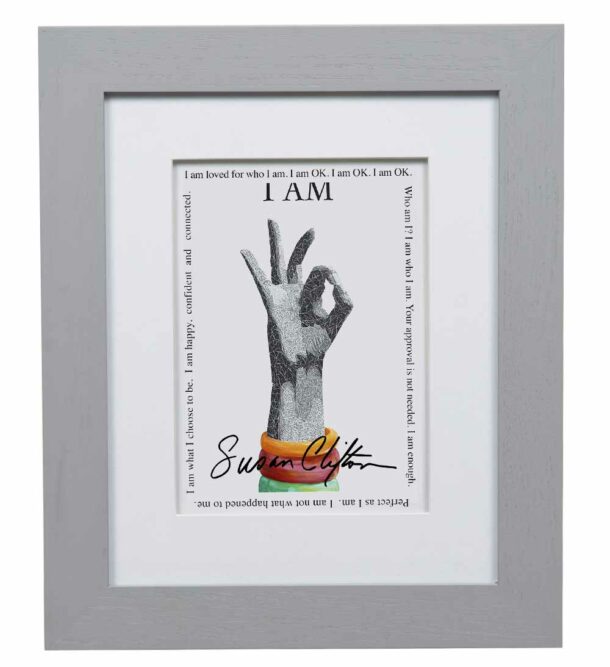
9. Showcasing Your Abstract Collage
Your finished artwork is ready to be displayed! Options include:
- Framing under glass for a polished presentation.
- Mounting on a wood panel for a modern look.
- Scanning or photographing it for prints and digital sharing.
Creating an abstract composition from gel prints is a process of exploration and intuitive decision-making. By carefully selecting, layering, and arranging your prints, you can craft a unique and expressive work of art. Whether you keep your collage minimal or build up layers of complexity, the possibilities are endless. Embrace the spontaneity of gel printing and let your creativity guide you toward stunning abstract compositions!
0 Comments